• English
  • United States(USD $)

No relevant currency found

CLOSE

User Manual | NYXI Flexi Wireless Game Controller

Note:

  • Pre-Use Activation

Before the first use, connect the controller to your PC using the USB cable to charge and activate it.

  • Key Layout Information

All ABXY button references in this guide are based on the PC layout. Please ensure the PC layout mode is selected.

 

USER GUIDE

PC

  • Receiver Mode

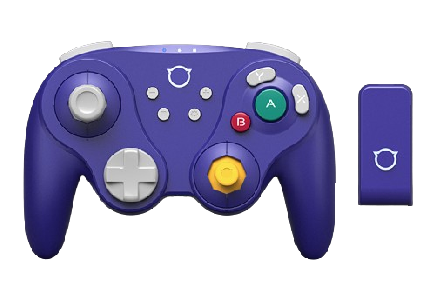
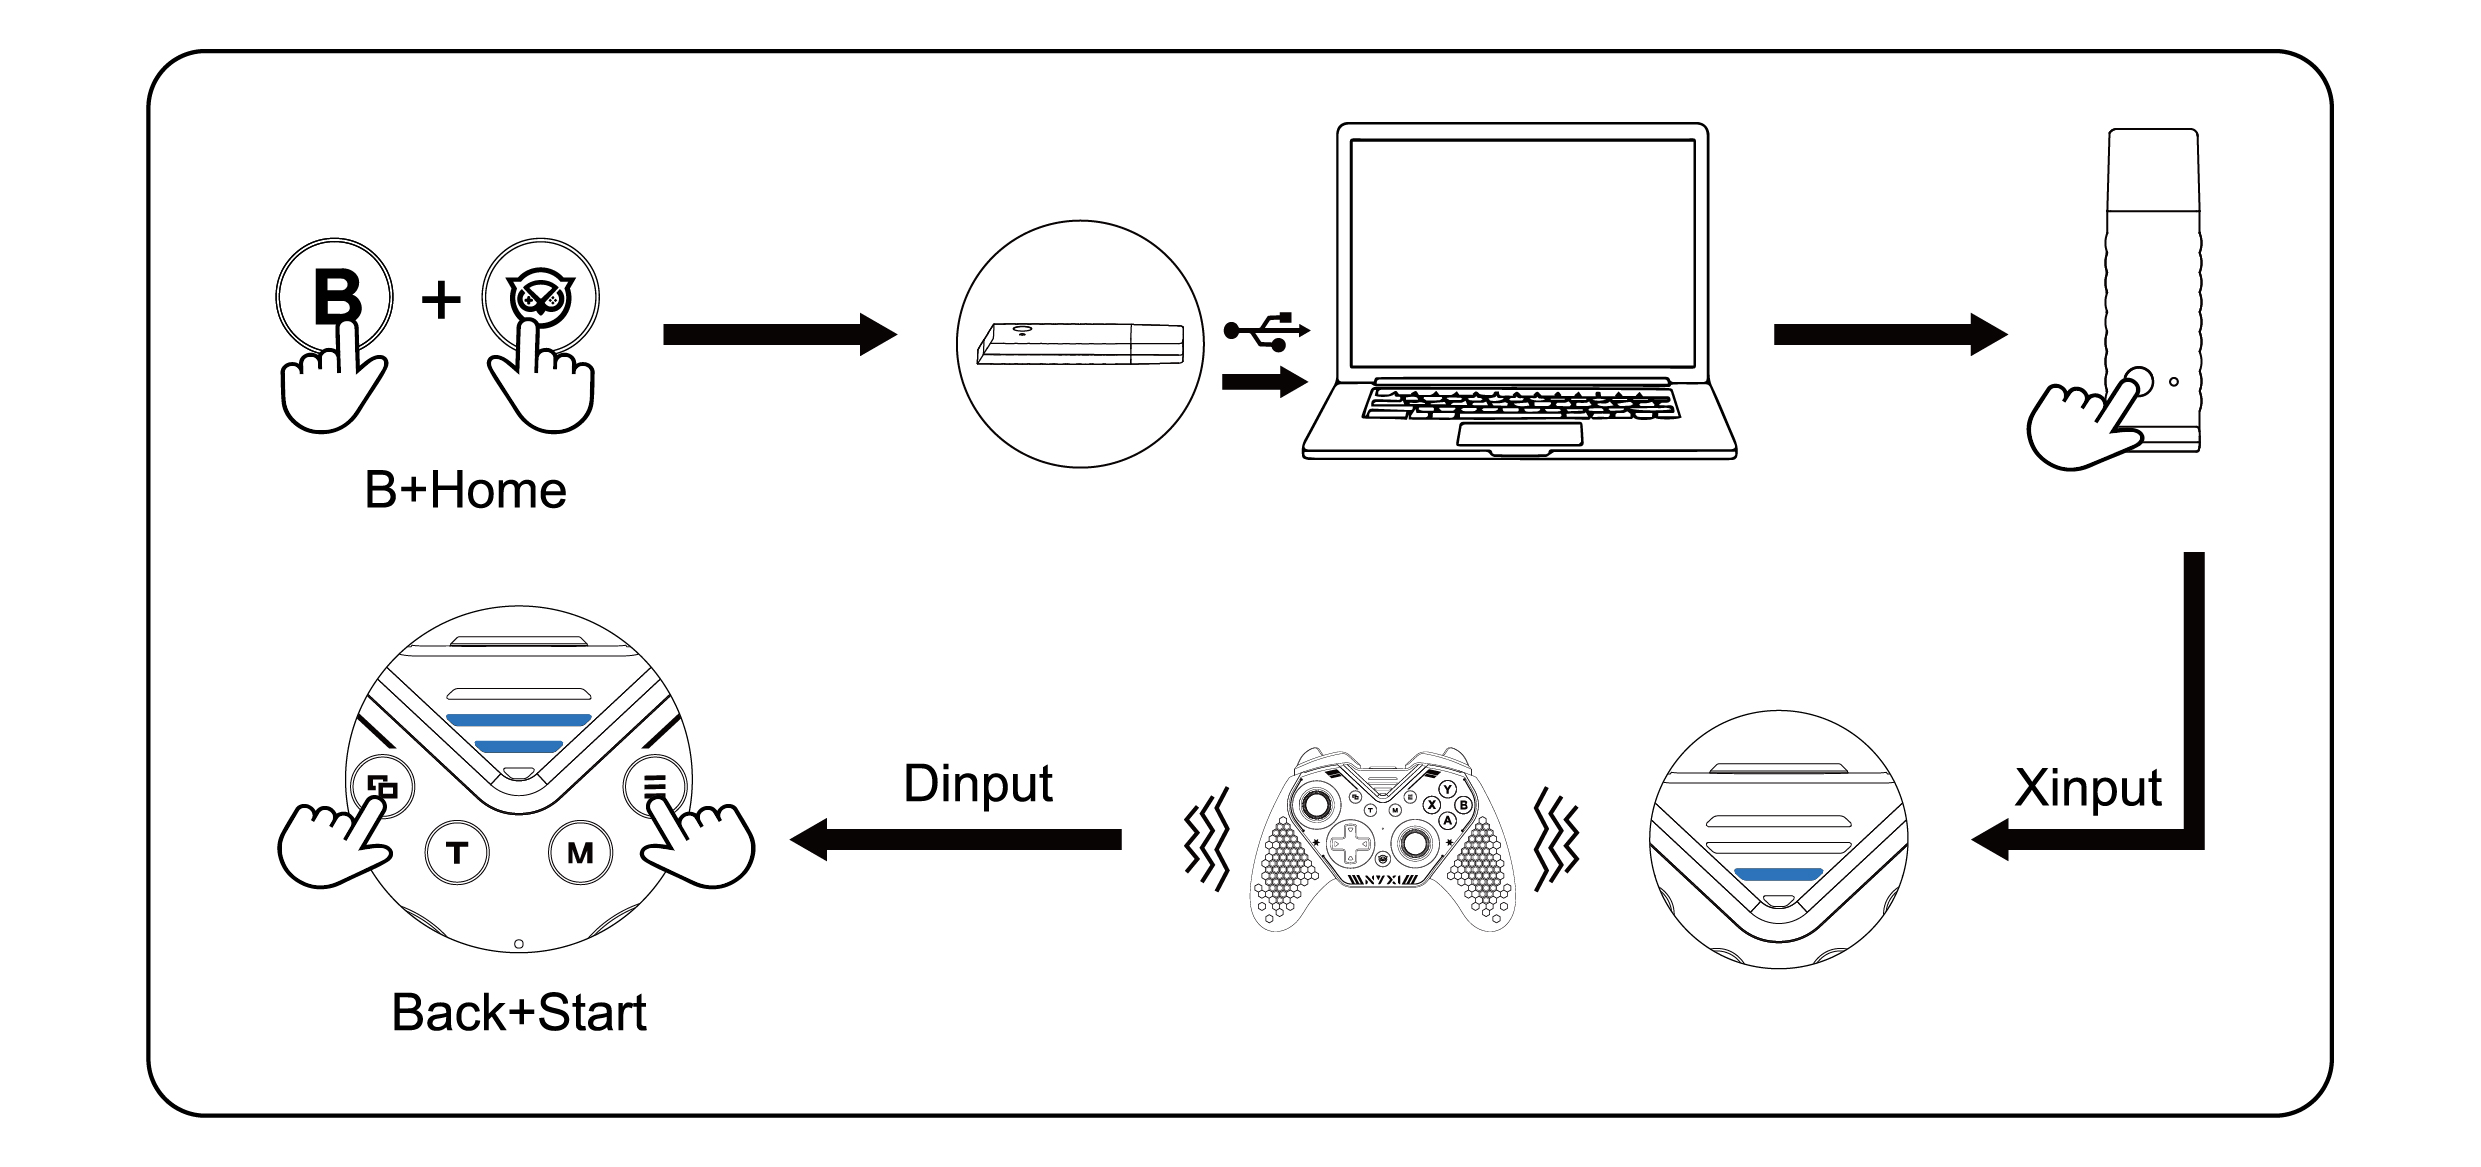
Press and hold the B + HOME buttons simultaneously to turn on the controller. The Channel 1 LED will flash rapidly. Plug the receiver into your PC. Press and hold the button on the receiver for 3 seconds. Wait for the controller and receiver to pair successfully.

Once connected, the controller will operate in Xinput mode.

To switch to Switch Pro mode, press and hold the BACK + START buttons simultaneously for 3 seconds.

To switch from Switch Pro mode to Dinput mode, press and hold the BACK + START buttons again for 3 seconds.

To return to Xinput mode from Dinput mode, press and hold the BACK + START buttons for 3 seconds once more.
  • Wired Mode

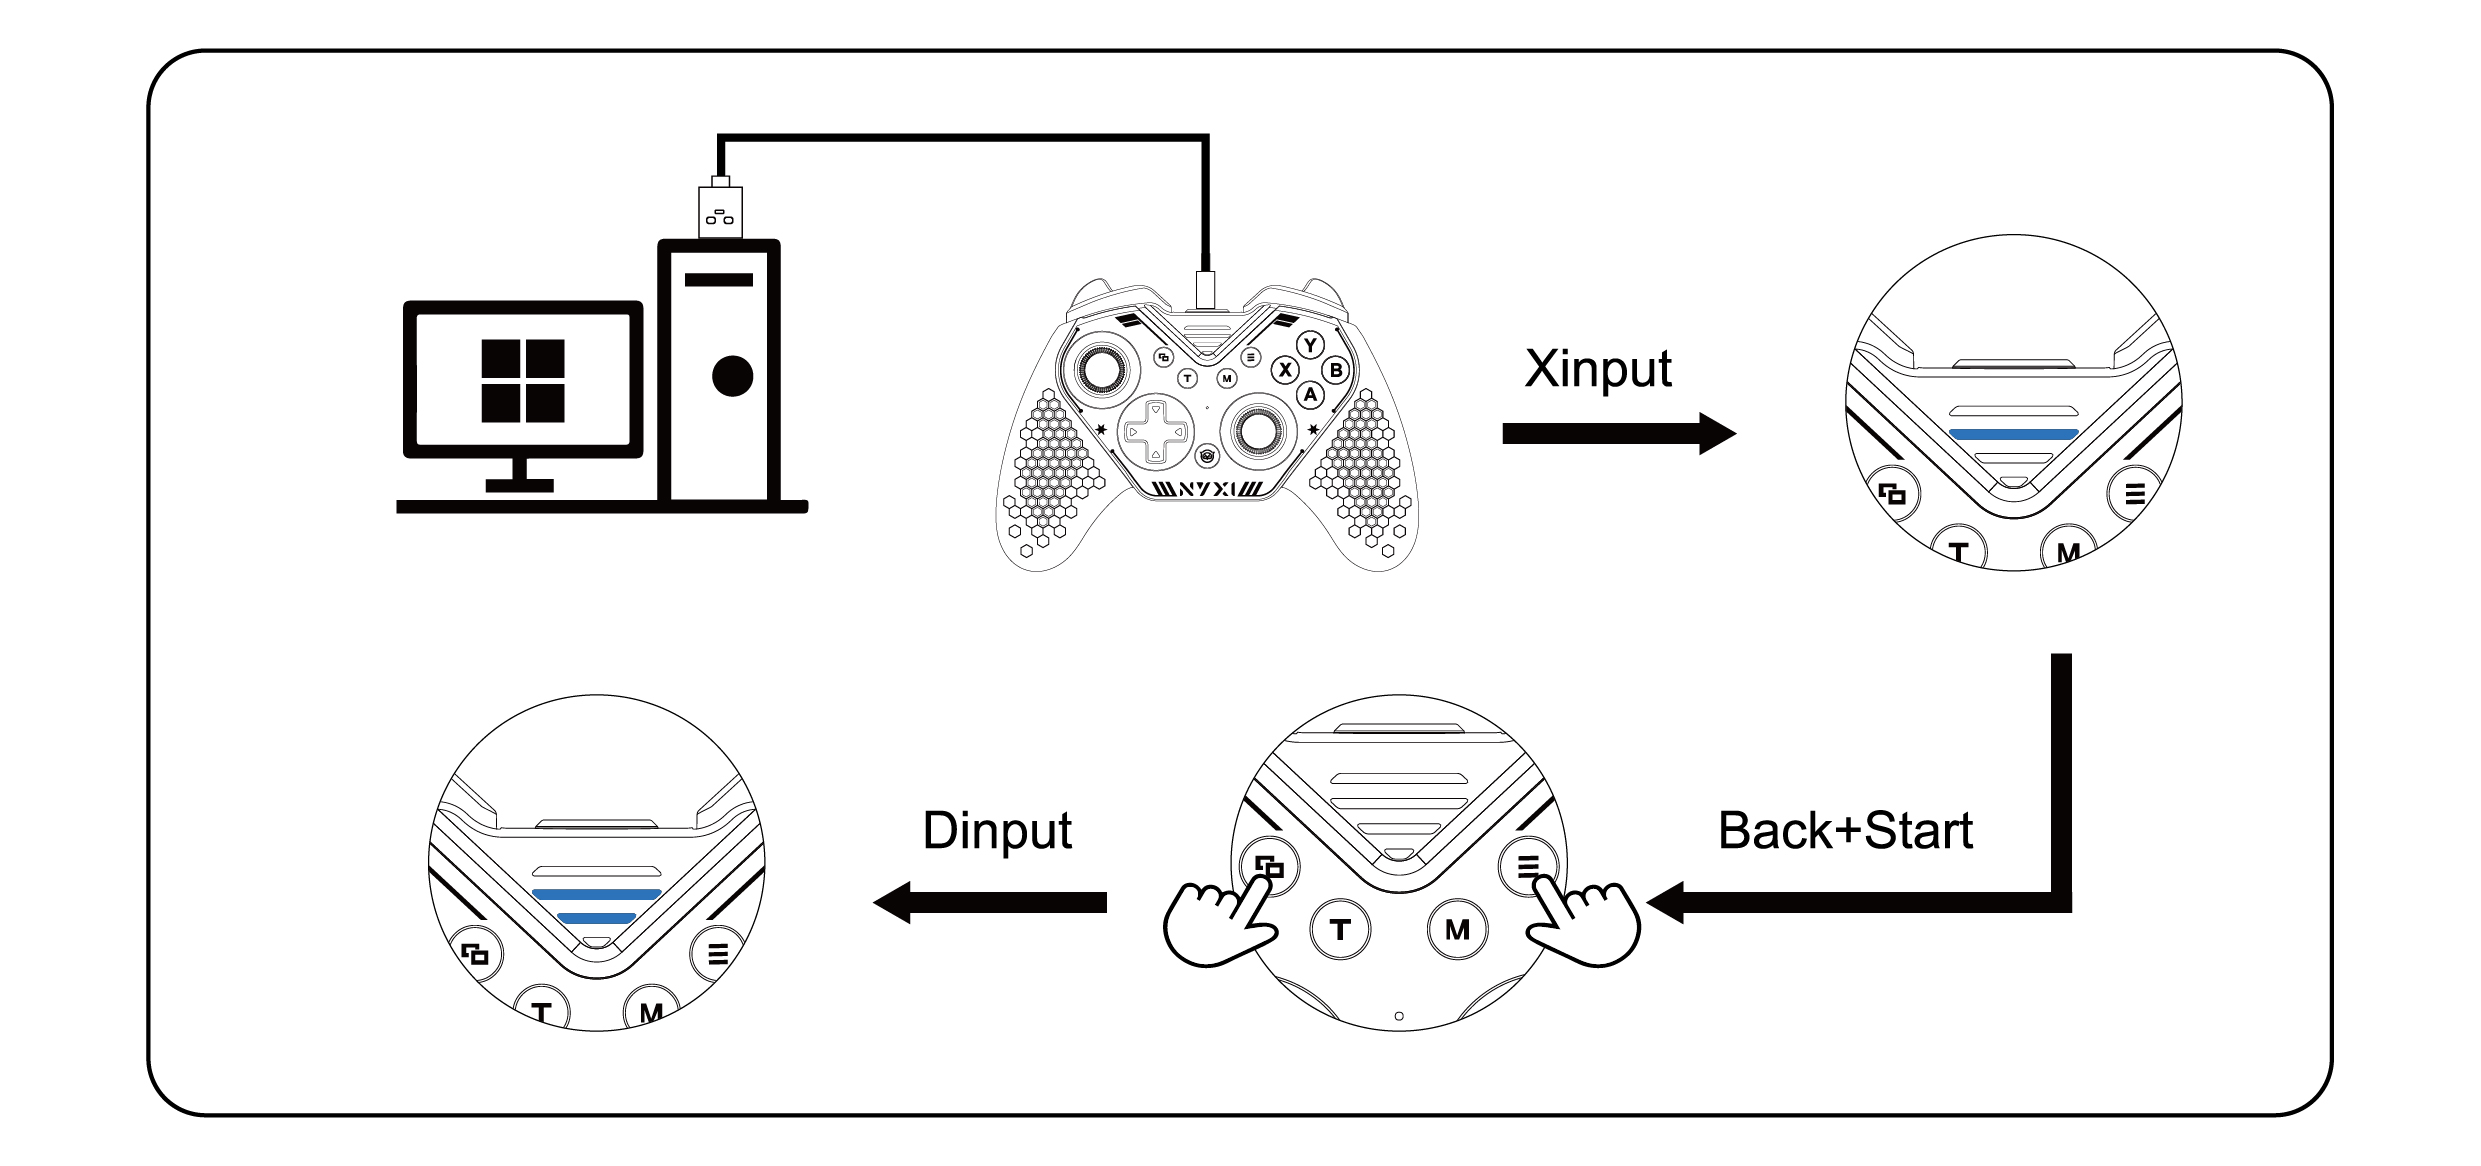
Use a USB-C cable to connect the controller to your PC. Once connected, the controller is ready for use.

To switch modes, press and hold the BACK + START buttons, following the same logic as when connecting via the receiver.
  • Bluetooth Mode

Press and hold the A + HOME buttons simultaneously to turn on the controller. The Channel 2 LED will start flashing.

Search for Xbox Wireless Controller in the Bluetooth device list on your PC. Click Connect to complete the pairing process.

Switch

  • Wireless Mode

Press and hold the B + HOME buttons simultaneously to turn on the controller.

Search for the controller on your Switch and wait for it to pair automatically.

  • Wired Mode

To connect the controller directly to the Switch via a wired connection, you will need a hub.

Android

Press and hold the A + HOME buttons simultaneously to turn on the controller. Search for Xbox Wireless Controller in the Bluetooth device list and click Connect to pair it with your phone.

iOS

Press and hold the A + HOME buttons simultaneously to turn on the controller. Search for Xbox Wireless Controller in the Bluetooth device list and click Connect to pair it with your device.

Windows Handheld Device

Press and hold the A + HOME buttons simultaneously to turn on the controller. Search for Xbox Wireless Controller and click Connect to pair it with your device.

Tesla

  • Receiver Mode

Press and hold the B + HOME buttons simultaneously to turn on the controller. Plug the receiver, keep pressing the button on the receiver and wait for the controller to automatically pair and connect.

  • Wired Mode

Simply connect the controller to the Tesla using a USB cable, and it will be ready to use.

  • Bluetooth Mode

Press and hold the A + HOME buttons simultaneously to turn on the controller. Search for Xbox Wireless Controller and click Connect to pair it with your Tesla.

Android TV

Press and hold the A + HOME buttons simultaneously to turn on the controller. Search for Xbox Wireless Controller and click Connect to pair it with your TV.

NYXI Flexi | Introduction

ABXY Key Swap Operation

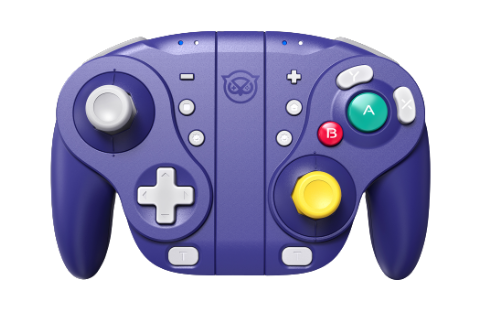
Take off the magnetic cover and gently remove the ABXY keycaps and swap their positions according to your preference. After swapping the keycaps, securely place the magnetic cover back in place to ensure the keycaps stay in place and avoid accidental detachment.

Note:

  • Currently, only the A and B buttons can be swapped, as well as the X and Y buttons.
  • The controller's mode setting will not be affected during the keycap swap.
  • Be careful during the process to avoid losing the keycaps.

Left Joystick and D-pad Module Swap Operation

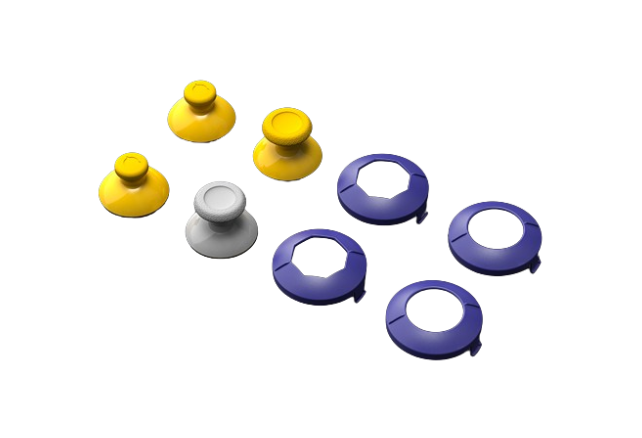
Take off the magnetic cover, and gently pull the left joystick and D-pad module upwards from their slots. Rotate them at 180° and press them down firmly into their new positions. Once the modules are in place, securely attach the magnetic cover to complete the swap.

Note:

  • This function supports hot-swapping, allowing you to change modules during gameplay. The controller will automatically adjust the data in real-time without issues like reversed direction.
  • When installing, make sure to press the module down firmly to avoid poor contact, which could lead to data errors.
  • Be careful to handle the module by its center when removing it, to avoid pulling the joystick and potentially damaging its lifespan and precision.
  • Avoid tilting or flipping the controller during the module swap to prevent the ABXY keycaps from falling off or getting lost.

RGB Switching

Turn on the controller. Press the RGB button on the back of the controller to cycle through the following lighting effects:

Rainbow Cycle -- Rainbow Breathing -- Solid Red -- Red Breathing -- Solid Orange -- Orange Breathing -- Solid Yellow -- Yellow Breathing -- Solid Green -- Green Breathing -- Solid White -- White Breathing -- Solid Blue -- Blue Breathing -- Solid Purple -- Purple Breathing

The default lighting is Solid Blue when the controller is powered on. If the lighting is adjusted, when the controller restarts, it will automatically save the last used lighting mode.

Programmable Button Function

*Supported buttons for programmable function: ABXY, L1, L2, R1, R2, D-pad, L3, R3, and the left/right joysticks.

Recording:

Press and hold the T button + the back button you want to program. The controller will vibrate, and the Channel four LEDs will flash simultaneously, indicating that the recording process has started.

Once the recording is complete, press the T button to save the programmed setting. The controller can store up to 21 different key combinations.

Clear the Mapping:

Press and hold the set button + the back button you want to clear. The controller will vibrate, and the Channel four LEDs will flash simultaneously, indicating that you are in clear mode.

Without entering any key combinations, press the T button to reset the back button to its default state.


M Button Function

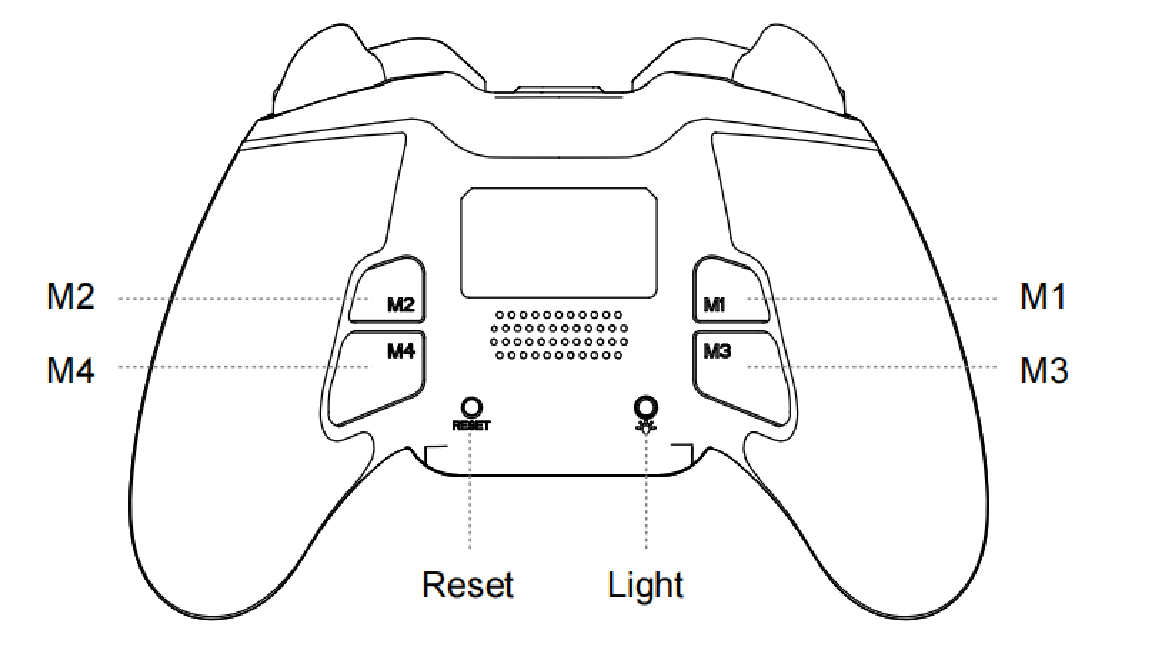
After powering on the controller, press and hold the M button for 3 seconds. The controller will vibrate, indicating that the Back Button Function(M1/M2/M3/M4) have been quickly disabled to prevent accidental activation.

Press and hold the M button for 3 seconds to enable the Back Button Function(M1/M2/M3/M4)again.

Reset Function

Turn on the controller. Press the reset button on the back to initiate the reset.

After the reset, all previously configured key macros and turbo functions will be cleared, and you will need to reconfigure them.

Turbo Function

* Supported buttons for Turbo function: ABXY, L1, R1, L2, R2, and the D-pad.

Manual Rapid Fire:

Press and hold the set button + the action button. The channel LED will flash twice quickly, and the controller will vibrate, indicating the setup is successful.

While holding the button, it will continue to rapidly fire. Release the button to stop the rapid fire.

Auto Rapid Fire:

Press the set button + the same action button again. The channel LED will flash rapidly, and the controller will vibrate, indicating the setup is successful.

The button will now auto-repeat (rapid fire) continuously. Pressing the button again will stop or restart the rapid fire.

Cancel Rapid Fire:

Press the set button + the action button for a third time to cancel the turbo function.

After setting up turbo, the channel LED will blink in sync with the rapid-fire frequency when triggered